E910 - Flange

EVALUATE DIRECTLY IN TRUE 3D
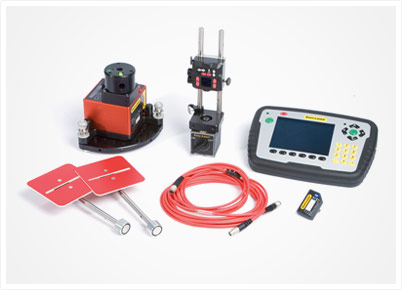
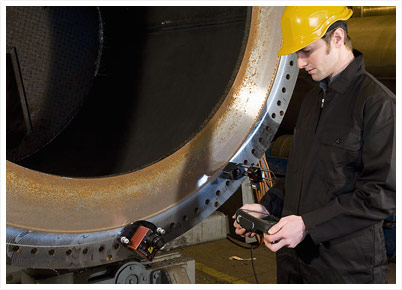
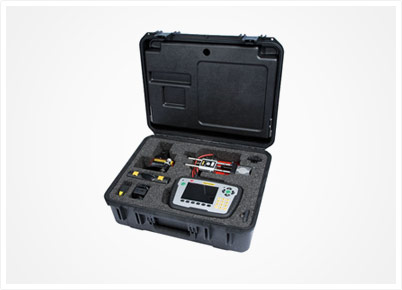
See the result as a true 3D image in the display unit directly after measuring. Then evaluate the result easily with different calculation settings, for example three point reference, best fit or all positive. This can also be done directly on site without having to stop to go to a PC with separate analysis programs, which was the case previously. This makes production much more efficient.
The system includes laser transmitter D22 with manual rotatable head, and with the option of deflecting the laser beam 90°. With a few more accessories the system can also be used to check the parallelism of the two tower flanges.
In the measurement system’s display unit it is possible to generate a PDF report containing graphs and measurement data. All information about the measurement object is documented.
Easy-Laser® Flange system makes your daily work more efficient. You can see the result as a 3D image in the display unit immediately after measuring and you can evaluate the result with different calculation settings.
- Unique Flange Section measurement program included
- Measures 1 to 5 circles of measurement points
- Evaluate the result with advanced best-fit calculations directly on site
- True 3D™ makes it easier to interpret the result
PROGRAMS AND FUNCTIONS


FOR ALL TYPES OF FLANGE
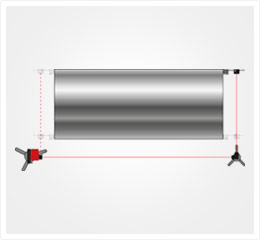
Easy-Laser® Flange systems can be used on all sizes of flanges, regardless of diameter. You can measure 1 to 5 circles of measurement points, for example inner, middle and outer circles, in order to see the taper of the flange. Each circle can have 6–180 measurement points. The program guides you graphically step-by-step through the entire measurement, which quickens the measurement process. Two methods are available: Full circle measurement and Sectional measurement.
PARALLELISM OF TOWER FLANGES
Easy-Laser® enables you to measure and check the parallelism of the flanges. This can be done in several ways, as shown to the right with system E910 for example. In addition to the standard equipment, two tripods and an angular prism are required.
EVALUATE DIRECTLY ON SITE
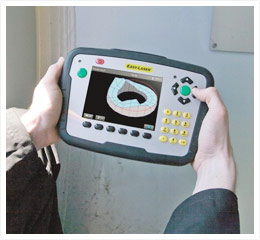
When the measurement of the flange is complete, the digits must then be interpreted. Easy-Laser® Flange systems make this extremely easy to do. And you can even do it on site, without having to go to a PC with separate analysis programs. This of course saves a lot of time. Time that you can use to measure more flanges. You can evaluate the result with different calculation settings, for example “three point reference”, “best fit” or “all positive”. The result is shown via graphics in true 3D.


