E915 - Flange spin

MEASURE WITH SPINNING LASER. EVALUATE DIRECTLY IN TRUE 3D.


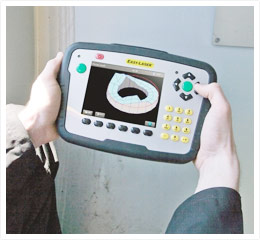
See the result as a true 3D image in the display unit directly after measuring. Then evaluate the result easily with different calculation settings, for example three point reference, best fit or all positive. This can also be done directly on site without having to stop to go to a PC with separate analysis programs, which was the case previously. This makes production much more efficient.
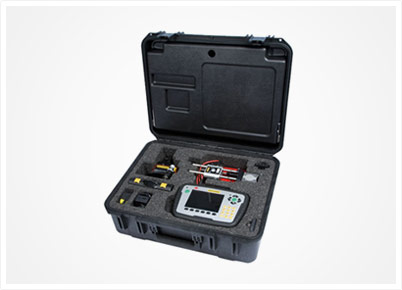
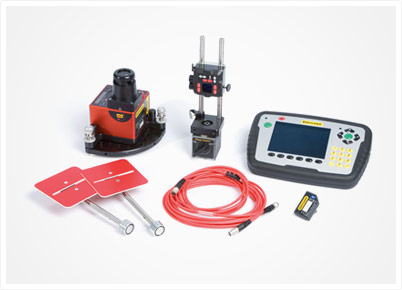
The system includes laser transmitter D23 Spin with power rotating head. This is how it works in brief: The laser beam from the transmitter rotates constantly and creates a reference plane over the entire measurement object.
Measurements are performed quicker as you do not have to align the beam for each new measurement position. You place the detector at the desired measurement points and register the reading by a push of a button. In principle, one person can perform the measurement themselves. It is then possible to generate a PDF report containing graphs and measurement data directly from the measurement system’s display unit. All information about the measurement object is documented.
Easy-Laser® Flange system makes your daily work more efficient. You can see the result as a 3D image in the display unit immediately after measuring and you can evaluate the result with different calculation settings.
- With SpinLaserTechnology™
- Unique Flange Section measurement program included
- Measures 1 to 5 circles of measurement points
- True 3D™ makes it easier to interpret the result
- Evaluate the result with advanced best-fit calculations directly on site
PROGRAMS AND FUNCTIONS


FOR ALL TYPES OF FLANGE

Easy-Laser® Flange systems can be used on all sizes of flanges, regardless of diameter. You can measure 1 to 5 circles of measurement points, for example inner, middle and outer circles, in order to see the taper of the flange. Each circle can have 6–180 measurement points. The program guides you graphically step-by-step through the entire measurement, which quickens the measurement process. Two methods are available: Full circle measurement and Sectional measurement.
EVALUATE DIRECTLY ON SITE
When the measurement of the flange is complete, the digits must then be interpreted. Easy-Laser® Flange systems make this extremely easy to do. And you can even do it on site, without having to go to a PC with separate analysis programs. This of course saves a lot of time. Time that you can use to measure more flanges. You can evaluate the result with different calculation settings, for example “three point reference”, “best fit” or “all positive”. The result is shown via graphics in true 3D.


